Auditions
The audition flow takes a production from "we're casting" to "we have offers out" without paper. Open your production's Auditions tab — at the top is the public share link for your form, and below it three sub-tabs: Form Setup, Submissions, and Scoreboard. Callbacks then get their own Callbacks tab, right next to Auditions.
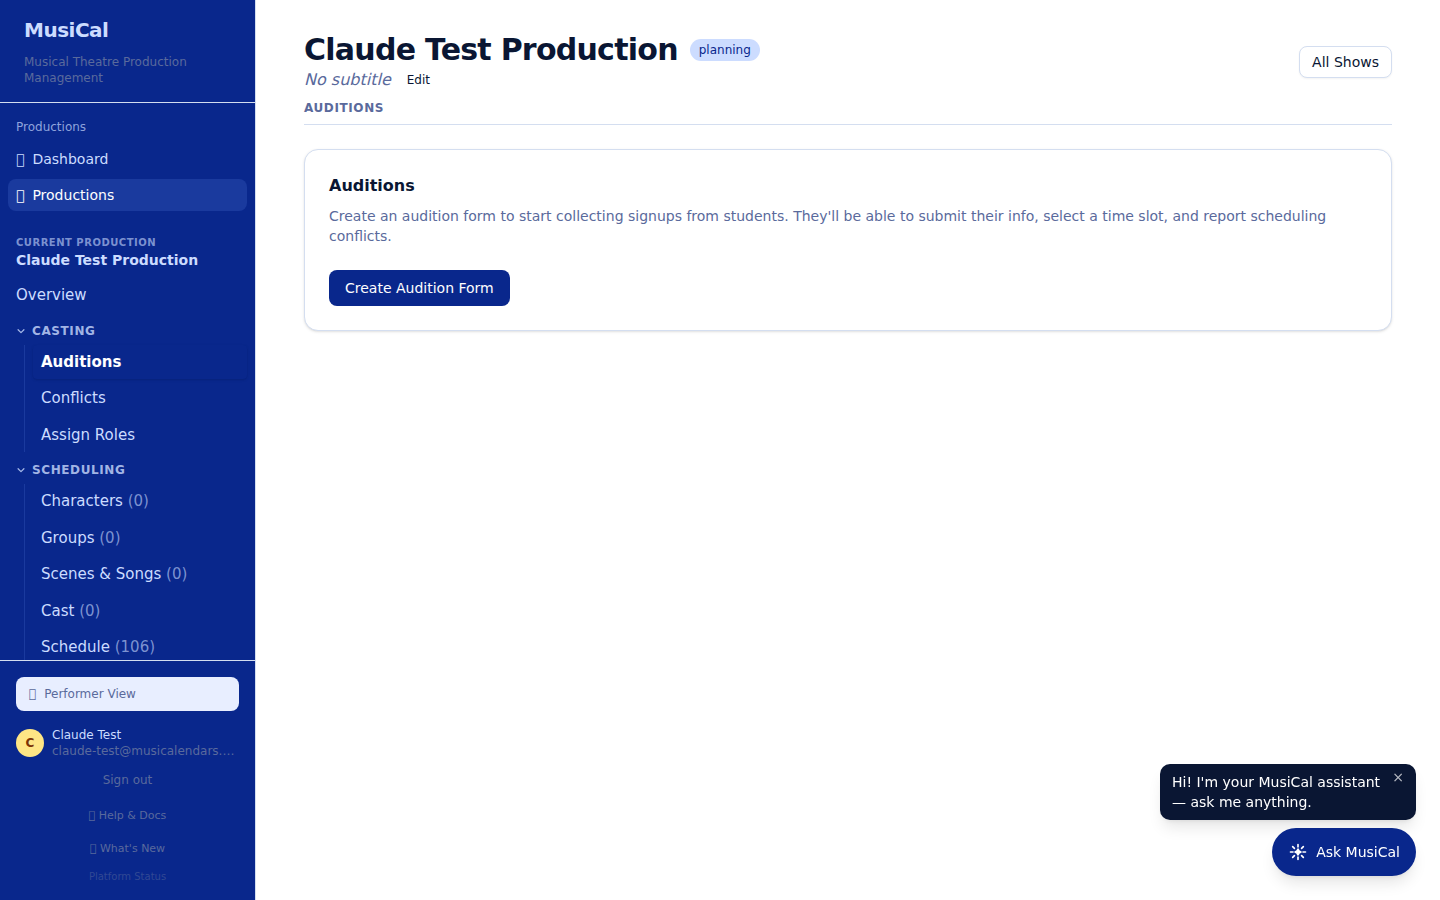
Stage 1 — Set up the form
Form Setup is where you shape what performers fill in. Everything on this panel saves as you go — there's no Save button, and a line at the bottom tells you when your change is stored.
- Open and close times — the form's open/closed switch sits on the same line as the times you set. Submissions are blocked outside the window.
- Questions — the form covers the basics (name, contact, experience, role interest) and you can customize the question list.
- Pages — the form performers see is split into steps, and the blue Page Header cards in the question list decide where each step starts and what it's called. A new form comes with four: Performer Info, Performer Experience, Conflicts, and Agreements. Everything beneath a Page Header (questions and section headers alike) appears on that step; a page with no questions under it simply doesn't show. Rename a page by clicking its card, drag it to move the break, or add another with + Page Header. A page's title shows in blue on the form, and the description you write for a page or a section header appears beneath it in dark text, keeping your line breaks — including on the Conflicts page. Every form then ends with a Review & Submit step that lists every answer, page by page, before the performer submits — they use Back to change anything. After they submit, MusiCal emails a copy of their answers to the performer's email — or to the parent, if there isn't one or a parent filled the form out. A Volunteering page already on a form stays; a Final Curtain page on an older form no longer appears, and any question under it shows on the page before. Forms created before this feature keep their original pages until you add a Page Header of your own.
- Headshot and video collection — the Headshot & Videos card in the question list holds Collect Headshot, Collect Dance Video, and Collect Vocal Video. Click the card to tick what you want, and drag it (like any question) to the page and position where those fields should appear — every new form starts with the card already in the list, just under the Conflicts page when the form has one. With Collect Headshot on, performers get a photo upload field, and the photo appears with their submission. The two video options ask the performer to paste a link to their video (YouTube, Google Drive, etc.); the link shows with their submission and opens the video in a new tab. Leave all three off and the card doesn't appear on the form at all. Forms created before this card existed keep the three checkboxes in Form Setup, and show those fields on the Performer Info page.
- Conflicts — whether performers enter their own conflicts at signup depends on the show's conflict lock (see below).
Stage 2 — Share the form
The share link (app.musicalendars.com/forms/<your-key-code>) is more than a form — it's also the performer's invitation to MusiCal. Share it on your website, newsletter, or wherever your audition pool lives. The form opens with your company logo, the MusiCal logo, and your show logo (click the square beside the show name at the top of any production page to upload one), so performers know they're in the right place.
The form opens on a Welcome step with two choices — Log In or Create Account — and an account is required before any of the questions appear. Everyone who ends up in the show needs one anyway, so the form settles it at the start. A performer too young for their own email address is covered by a parent creating the account and submitting on their behalf. From there the form collects their name, a parent/guardian, and — if you've left conflicts unlocked on the show — their conflicts and an availability note. New shows start with conflicts locked, which means you manage conflicts for them; unlock it from the production's Conflicts tab if you want performers entering their own. If a form link arrives pre-filled with a name or email that isn't quite right, the performer can edit it and the edit sticks.
Stage 3 — Review and score
Submissions lists everyone who has applied, with their answers, headshot, and audition videos. The photo shown is the one they uploaded for this audition; if they didn't upload one, you see their profile photo instead, and the same photo appears on the Scoreboard. The Scoreboard sub-tab ranks performers by score so you can see your pool at a glance. Multiple staff can score; the scoreboard shows the averages.
Need the list outside MusiCal — for the music director, or a paper backup for the table? Export the submissions to a spreadsheet from the Submissions view.
Stage 4 — Callbacks
The Callbacks tab (right after Auditions) lists everyone you've called back in one place — the roles they're up for, their average score, when they auditioned, and any notes your scorers left. From there you can mark someone Cast or Not Cast, or send them back to Reviewed, without leaving the page.
After auditions
Once you know who you want, move to Casting and Offers — the Assign Roles board is where auditionees become a cast list.
One promise worth keeping in mind for your performers: a show they auditioned for stays in their "Awaiting casting" list until you click Finalize Roles. Finalizing is what tells everyone who wasn't cast that casting is complete.